Change Icon & Splash in .NET MAUI
In this tutorial, we'll walk you through how to customize the App Icon and Splash Screen in a .NET MAUI application. Let's start by creating a fresh project and setting everything up.
Step 1: Create a New .NET MAUI Project
- Open Visual Studio 2022 or later.
- Click on Create a new project.
- Select .NET MAUI App from the list of templates.
- Name your project:
AppIconAppSplash.
- Choose your preferred location and click Next.
- Select the target framework (e.g., .NET 8.0 or latest LTS version).
- Click Create to generate the project files.
Template:       .NET MAUI App
Project Name:   AppIconAppSplash
Framework:      .NET 8.0 (or latest)
Location:       Your desired folder
Step 2: Build and Run the App
- After the project is created, click on Build > Build Solution or press
Ctrl + Shift + B.
- Then select an Android Emulator from the device list.
- Click the green play button ▶ or press
F5 to run the app.
- Verify that the default app launches successfully and displays the default icon and splash screen.
✅ If your app launches successfully, everything is set up properly. You're now ready to customize the visual branding by updating the app icon and splash screen.
Step 3: Explore the Resources & AppIcon Folder
After your app has successfully built and run, it's time to customize the app icon by modifying the default SVG files found in the AppIcon folder.
- In the Solution Explorer, expand the
Resources folder.
- Inside it, locate and expand the AppIcon folder.
- You will find two important SVG files that define your app icon:
appicon.svg – The base shape of your app’s icon.appiconfg.svg – The foreground layer, often used for additional branding or overlays.
- To fully customize your app icon across platforms, you need to replace both files with your own designs.
📁 Resources
   └── 📁 AppIcon
         ├── appicon.svg       // Main App Icon Shape
         └── appiconfg.svg     // Foreground Layer / Overlay
🔍 In the next step, we’ll walk you through how to modify
both of these SVGs using the free tool
Photopea.
Step 4: Customize appicon.svg and appiconfg.svg Using Photopea
We will now update
both SVG files that define the app icon. We'll use
Photopea, a free online editor similar to Photoshop, to open, edit, and save them.
- Open your browser and go to https://www.photopea.com.
- In Visual Studio, right-click the
AppIcon folder under Resources and choose Open Folder in File Explorer.
🔧 Editing appicon.svg
- Drag
appicon.svg into Photopea and drop it on the + tab to open.
- Click Layer > New > Layer to add a new layer.
- Delete all the existing layers to start with a blank icon.
- Drag your PNG app icon into the canvas, resize, and center it.
- Click File > Save to overwrite the file with your new design.
🔧 Editing appiconfg.svg
- Now repeat the same steps for
appiconfg.svg.
- Open the file in Photopea.
- Create a new layer and delete all existing ones.
- Use the T tool to add your app name or branding text.
- Optionally, add a logo PNG above or below the text.
- Center-align everything on the canvas for a clean splash look.
- Click File > Save to update the foreground SVG file.
📦 Customize Both SVG Files
1. appicon.svg → icon shape
2. appiconfg.svg → branding text/logo
✔️ Use Photopea → New Layer → Delete Old → Save
✅ Once both files are updated and saved, you’ve successfully customized your app’s icon. In the next step, we’ll clean and rebuild the solution to see the updated icon in action.
Step 5: Customize the Splash Screen (splash.svg)
After updating the app icon, it’s time to personalize the splash screen that appears when your app launches. This is managed through the splash.svg file located in the Resources > Splash folder.
- Go to your
Resources > Splash folder.
- Right-click
splash.svg and choose Open Folder in File Explorer.
- Open Photopea in your browser.
- Drag and drop the
splash.svg file onto the + tab in Photopea to open it.
- Click Layer > New > Layer to create a new layer.
- Delete all existing layers to start with a clean canvas.
- Select the T (Text Tool) from the left toolbar and click on the canvas.
- Type your app name or splash message. You can also drag and drop your logo (PNG format) onto the canvas.
- Align your logo and text to the center of the canvas for better visual balance.
- Once done, click File > Save in Photopea to overwrite the original
splash.svg file.
- Clean and rebuild your solution, then run the app to see the updated splash screen.
🎨 Splash Screen Steps:
1. Open splash.svg in Photopea
2. New layer → Delete old layers
3. Use Text Tool → Write app name
4. Drag logo (optional) → Align center
5. File → Save
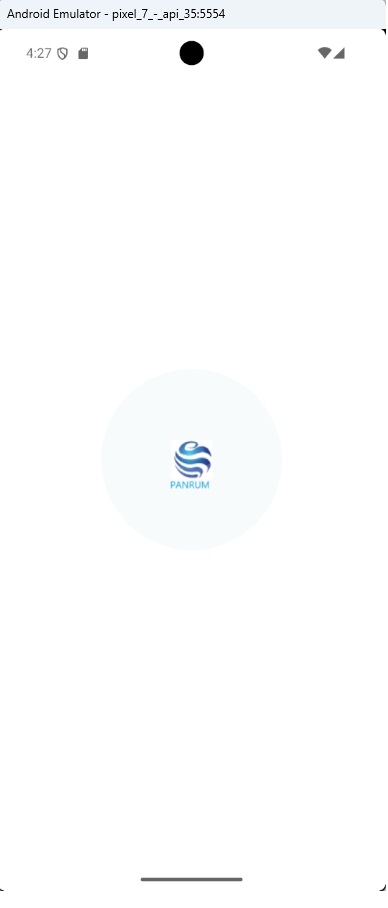
Step 6: Run the App with Your New Splash Screen
- Back in Visual Studio, click Build > Rebuild Solution.
- Run the app again on your Android emulator.
🎉 You should now see your customized splash screen with your app name and logo when the app starts. This gives your app a professional and personalized look right from launch.
Conclusion
Customizing the App Icon and Splash Screen in your .NET MAUI app is simple and powerful. It allows you to make your application look professional and unique. By using free tools like Photopea, even beginners can create visually appealing assets without needing expensive software.
With just a few steps — create your app, update SVGs, and rebuild — your MAUI app is now branded and polished for deployment.
Frequently Asked Questions (FAQ)
Q1: My app icon didn’t change after replacing appicon.svg. What should I do?
Make sure you saved the file correctly and replaced the original in the correct folder. Also, try cleaning and rebuilding the solution.
Q2: Can I use PNG instead of SVG for app icons?
.NET MAUI recommends SVG for scalability, but you can convert a PNG to SVG using tools like Photopea or online converters.
Q3: Does this work for iOS and Windows as well?
Yes, but for full platform support, you may need to update additional icon files located under Platforms\iOS and Platforms\Windows.
Q4: Can I add animation or loading indicators in the splash screen?
No. Splash screens in .NET MAUI are static. You can add animations after launch using XAML once the main page loads.
Q5: Is Photopea safe and free?
Yes, Photopea is a free, browser-based tool with no installation required. It’s widely used as a Photoshop alternative.
Q6: Will these changes reflect on Play Store builds?
Absolutely. As long as you rebuild and publish the app after changes, the updated icon and splash screen will be included in your release APK or AAB.