Chapter 2: Setting Up the Development Environment
Installing Visual Studio for .NET MAUI
To start developing .NET MAUI applications, you need to install Visual Studio with the necessary components. Follow these steps to ensure a smooth installation:
1. Download Visual Studio
- Go to the Microsoft Visual Studio official website.
- Download the latest version of Visual Studio 2022 (Community, Professional, or Enterprise edition).
- Run the installer and wait for it to initialize.
2. Select the Required Workloads
During the installation process, you will be prompted to select workloads. Ensure you select:

- .NET Multi-platform App UI development (Required for MAUI development).
- Mobile development with .NET (Installs required SDKs for Android and iOS development).
You can also expand the installation by selecting Individual Components to install platform-specific tools.
3. Install Additional Platform SDKs
Depending on your target platforms, ensure the following SDKs are checked:
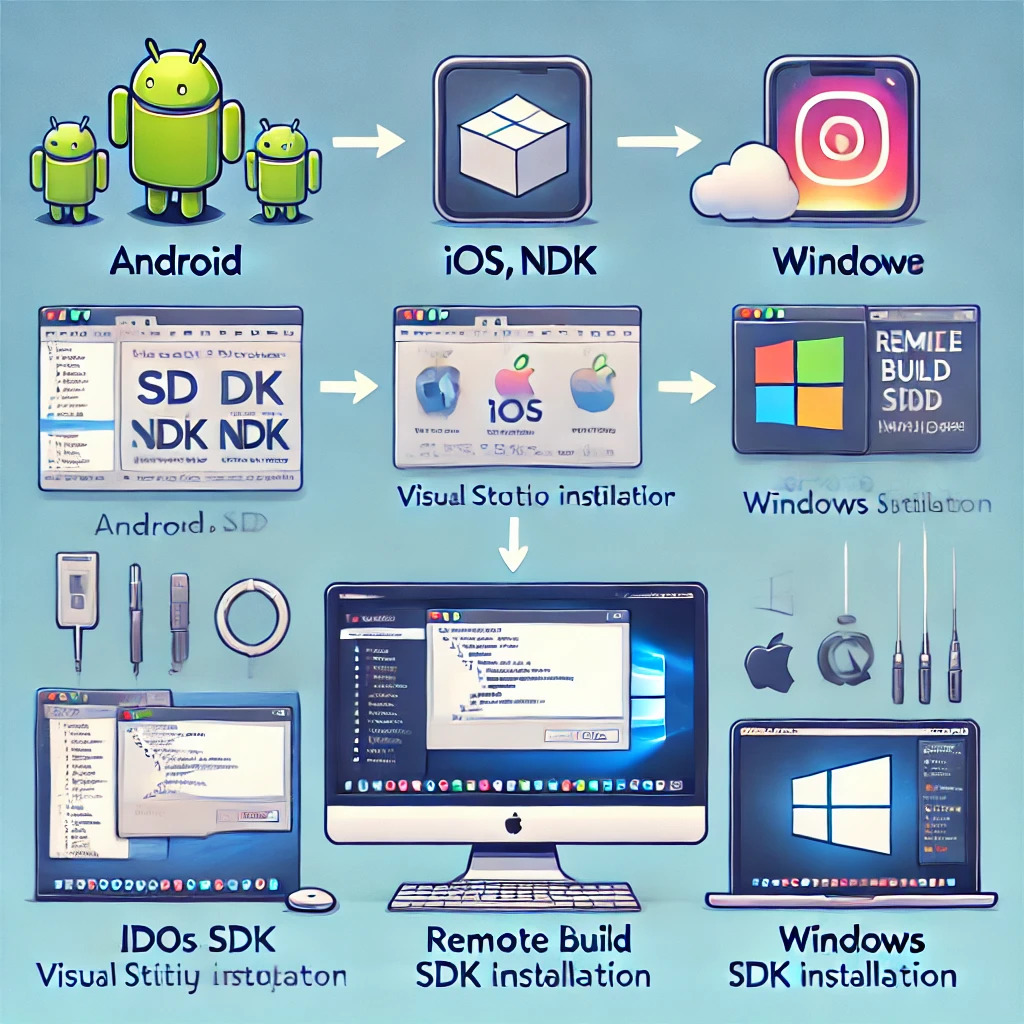
- Android: Installs Android SDKs, NDK, and Android Emulator.
- iOS: Installs tools required to build and debug iOS apps (requires a Mac).
- Windows: Installs necessary Windows SDKs for UWP/WinUI development.
- macOS: Requires a Mac with Xcode installed for building macOS applications.
4. Complete the Installation
- Click the Install button and wait for the process to complete.
- After installation, restart your computer if prompted.
- Launch Visual Studio and sign in with your Microsoft account.
5. Verify Your Installation
To ensure that Visual Studio is ready for .NET MAUI development:
- Open Visual Studio and go to Tools > Get Tools and Features.
- Confirm that .NET Multi-platform App UI development is installed.
- Check Help > About Visual Studio to verify installed components.
Configuring Android, iOS, Windows, and macOS Support
Developing cross-platform applications with .NET MAUI requires setting up platform-specific tools. Below are the steps to ensure a successful setup for each platform:
Android Configuration
To develop and test .NET MAUI applications for Android, you need the following:
- Install Android SDKs and NDK:
- Open Visual Studio Installer.
- Select .NET Multi-platform App UI development workload.
- Ensure that Android SDK, Android NDK, and Android Emulator are selected in the Individual Components tab.
- Set up the Android Emulator:
- Open Visual Studio and go to Tools > Android Device Manager.
- Create a new virtual device with a compatible API level (e.g., API 33+).
- Start the emulator and ensure it boots up successfully.
- Enable Developer Mode on Your Physical Android Device:
- Go to Settings > About Phone and tap on Build Number 7 times.
- Enable USB Debugging in Developer Options.
- Connect your device via USB and verify that it appears in
adb devices.
iOS Configuration
.NET MAUI requires a macOS machine to compile and deploy iOS applications.
- Set Up a Mac Build Host:
- Install Xcode from the Mac App Store.
- Open Xcode and agree to the license terms.
- Install Xcode Command Line Tools by running the following command in Terminal:
sudo xcode-select --install
- Install .NET SDK for macOS.
- Pair Your Windows Machine with the Mac:
- Ensure both machines are on the same network.
- Open Visual Studio on Windows.
- Navigate to Tools > iOS > Pair to Mac and follow the pairing process.
- Set Up a Simulator or Physical Device:
- Use Xcode's Simulator to test apps.
- For a physical iPhone, enroll in Apple’s Developer Program and register your device.
Windows Configuration
To build and run .NET MAUI applications on Windows:
- Ensure Windows SDK is Installed:
- Open Visual Studio Installer.
- Ensure that the Windows App SDK is installed.
- Enable Developer Mode:
- Go to Settings > Privacy & Security > For Developers.
- Enable Developer Mode to allow sideloading apps.
- Set Up a Windows Emulator (Optional):
- Install the Windows Subsystem for Android (WSA) for Android testing.
- For UWP and WinUI apps, install the Windows 11 SDK.
Building a Simple Greeting App in .NET MAUI
Now that your environment is set up, let’s build a simple greeting app that takes user input and displays a personalized message.
1. Define the UI in MainPage.xaml
Replace the default MainPage.xaml file with the following code:
<?xml version="1.0" encoding="utf-8" ?>
<ContentPage xmlns="http://schemas.microsoft.com/dotnet/2021/maui"
             xmlns:x="http://schemas.microsoft.com/winfx/2009/xaml"
             x:Class="MauiApp1.MainPage">

    <ScrollView>
        <VerticalStackLayout Padding="30,0" Spacing="25">

            <Label Text="Enter your name:" FontSize="18" />

            <Entry x:Name="NameEntry" Placeholder="Type your name here" />

            <Button Text="Greet Me" Clicked="OnGreetClicked" HorizontalOptions="Fill" />

            <Label x:Name="GreetingLabel" FontSize="20" TextColor="Blue" />

        </VerticalStackLayout>
    </ScrollView>

</ContentPage>
2. Implement the Logic in MainPage.xaml.cs
Now, update the MainPage.xaml.cs file with the following code:
using Microsoft.Maui.Controls;

namespace MauiApp1
{
    public partial class MainPage : ContentPage
    {
        public MainPage()
        {
            InitializeComponent();
        }

        private void OnGreetClicked(object sender, EventArgs e)
        {
            if (!string.IsNullOrWhiteSpace(NameEntry.Text))
            {
                GreetingLabel.Text = $"Hello, {NameEntry.Text}!";
            }
            else
            {
                GreetingLabel.Text = "Please enter your name.";
            }
        }
    }
}
Understanding Project Structure
| Folder/File |
Description |
| App.xaml |
Defines global resources for styling and themes. |
| MainPage.xaml |
The main UI layout of your app. |
| Platforms Folder |
Contains platform-specific implementations. |
